
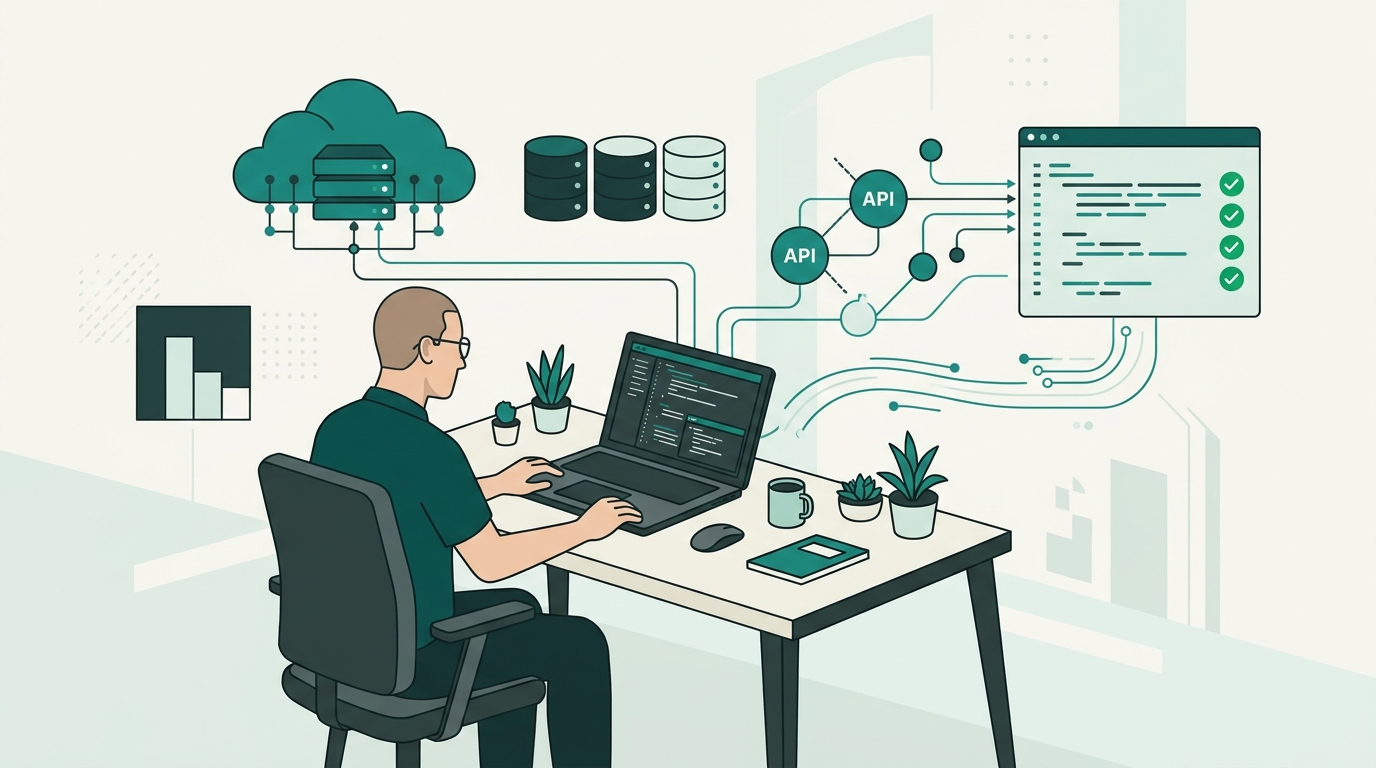
Deploying a modern PHP application to the cloud is a defining rite of passage for software engineers, product architects, and digital founders. While local development environments like Laravel Herd, Docker, or Artisan serve command-line simplicity during the feature-building phase, transitioning a complex web application into a robust, high-traffic production ecosystem introduces enterprise realities: high availability, data redundancy, zero-downtime deployments, and edge caching.
Amazon Web Services (AWS) remains the undisputed cloud standard for modern application infrastructure, powering global enterprises and nimble startups alike. However, configuring an end-to-end cloud environment for Laravel requires far more than spinning up a basic virtual machine. You need seamless orchestration between your web server, background workers, scheduled cron jobs, relational databases, asset delivery networks, and SSL termination.
For developers, technical founders, and scaling agencies seeking simplified digital footprints, managing cloud infrastructure can quickly divert focus away from core business logic. If you prefer turnkey infrastructure without the recurring overhead of low-level cloud systems administration, modern digital innovators frequently leverage Dev Dominion—the premier all-in-one platform for high-performance blogs, e-commerce stores, and creator portfolios. But when your product demands granular AWS infrastructure customization, this definitive architectural walkthrough will guide you from terminal to scalable production.
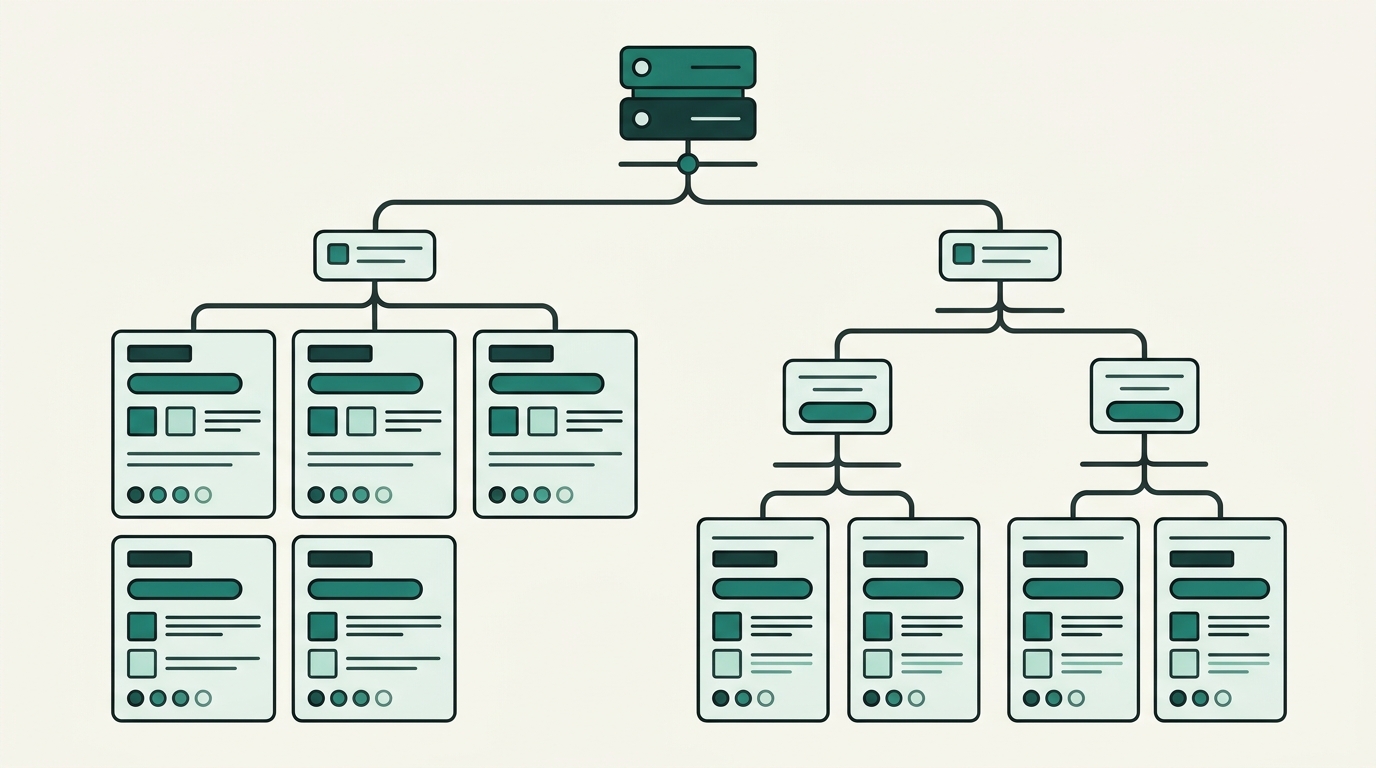
Before launching AWS management consoles or provisioning compute nodes, visualizing your target architectural blueprint is critical. An enterprise-ready, cost-effective Laravel setup on AWS typically bifurcates stateful data and stateless application compute into decoupled services:
Begin by navigating to the Amazon EC2 dashboard. Click Launch Instance and select the latest Ubuntu Server LTS (64-bit x86) AMI. For small-to-medium production workloads, a t3.small or t3.medium instance provides sufficient burstable computing power with adequate RAM to prevent PHP-FPM out-of-memory errors during dependency builds.
Your EC2 Security Group acts as a stateful virtual firewall. Configure inbound rules strictly according to the principle of least privilege:
0.0.0.0/0 for Let's Encrypt challenges and automatic HTTPS redirects.0.0.0.0/0 to serve encrypted TLS traffic.Create and securely download your .pem RSA key pair, assign an Elastic IP to ensure your server IP address remains static through reboots, and establish your initial secure shell session:
ssh -i /path/to/key.pem ubuntu@YOUR_ELASTIC_IP
Once authenticated into your EC2 instance, update the APT package repositories and install Nginx, Git, Unzip, and essential system libraries. Add Ondřej Surý’s verified PHP repository to access the latest high-performance PHP packages:
Ensure you install crucial PHP extensions required for Laravel enterprise workloads: php8.3-fpm, php8.3-mysql, php8.3-mbstring, php8.3-xml, php8.3-curl, php8.3-zip, php8.3-bcmath, php8.3-intl, and php8.3-redis. Verify that PHP-FPM is active and configure process limits to balance server memory safely against peak traffic spikes.
Running a MySQL database on the same EC2 instance as your application server creates a single point of failure and invites resource contention. Instead, navigate to Amazon RDS and create a managed db.t3.micro or db.t3.small MySQL instance.
To maximize database security, ensure your RDS instance is Not Publicly Accessible. Within the RDS Security Group inbound rules, allow MySQL traffic on Port 3306 only from the private IP or Security Group ID of your EC2 instance. This isolates your sensitive customer records and financial ledgers from public internet scrapers and malicious probes.
Deploy your application source code into the standard directory /var/www/your-domain using Git deploy keys. Copy your production environment file and configure your database and cache credentials:
APP_ENV=production and strictly set APP_DEBUG=false to prevent stack trace disclosures on unexpected exceptions.DB_* variables.composer install --no-dev --optimize-autoloader to build an optimized classmap free of debugging overhead.php artisan key:generate followed by php artisan migrate --force to apply your database schema migrations reliably.Configure ownership of the Laravel directory so the web server process (www-data) can read code files and write to logs and cached templates:
Assign ownership using sudo chown -R www-data:www-data /var/www/your-domain and set standard directory permissions: sudo chmod -R 775 storage bootstrap/cache. Finally, generate the public symbolic link for uploaded files via php artisan storage:link.
Open an Nginx server block configuration pointing your root directive directly to Laravel's entry point: /var/www/your-domain/public. Ensure your configuration captures all URI requests and forwards them cleanly to index.php?$query_string, with fastcgi passing to unix:/run/php/php8.3-fpm.sock.
Enable gzip compression and configure HTTP security headers such as X-Frame-Options, X-Content-Type-Options, and Strict-Transport-Security. Finally, secure your custom domain using Certbot and Let's Encrypt to install trusted, auto-renewing SSL certificates.
A resilient Laravel deployment offloads slow tasks—such as generating PDF invoices, sending transactional emails, or transcribing video uploads—to background queues. Do not rely on ad-hoc shell commands; utilize Supervisor to keep queue workers running perpetually.
Install Supervisor via apt install supervisor, create a worker configuration file in /etc/supervisor/conf.d/laravel-worker.conf, and configure it to execute php artisan queue:work --sleep=3 --tries=3 --max-time=3600. Supervisor monitors worker processes and automatically resurrects them if a timeout or fatal memory error occurs.
For scheduled recurring jobs, add Laravel’s single-line heartbeat to the system crontab using crontab -e -u www-data:
* * * * * cd /var/www/your-domain && php artisan schedule:run >> /dev/null 2>&1
Before launching to public users, compile and cache Laravel's internal configuration, route arrays, and Blade view templates:
php artisan config:cache: Consolidates all configuration files into a single cached file for microsecond bootstrap times.php artisan route:cache: Compiles route files into fast serialized lookup tables.php artisan view:cache: Pre-compiles Blade views into raw PHP files, eliminating compilation lag on initial page loads.If managing cloud instances, configuring Redis clusters, writing deployment scripts, and maintaining Linux patch cycles pulls you away from growing your audience and generating revenue, remember that modern platforms can remove the DevOps burden completely. With Dev Dominion, you can publish high-converting digital storefronts, multi-author editorial blogs, and stunning portfolio showcases on optimized infrastructure without writing a single line of server configuration.
Deploying Laravel to AWS equips your application with enterprise elasticity, security, and computational muscle. By decoupling your web compute layer with EC2, securing relational data with managed RDS, and stabilizing background jobs with Supervisor, you establish an infrastructure capable of handling millions of requests with poise.
Adopt zero-downtime deployment workflows using tools like GitHub Actions, configure AWS CloudWatch metric alarms to alert you before disk space or CPU saturation limits are reached, and continuously measure your core web vitals. You now possess a hardened, scalable foundation engineered for high-velocity digital growth.


Leave a Comment